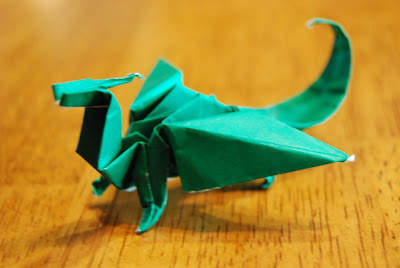
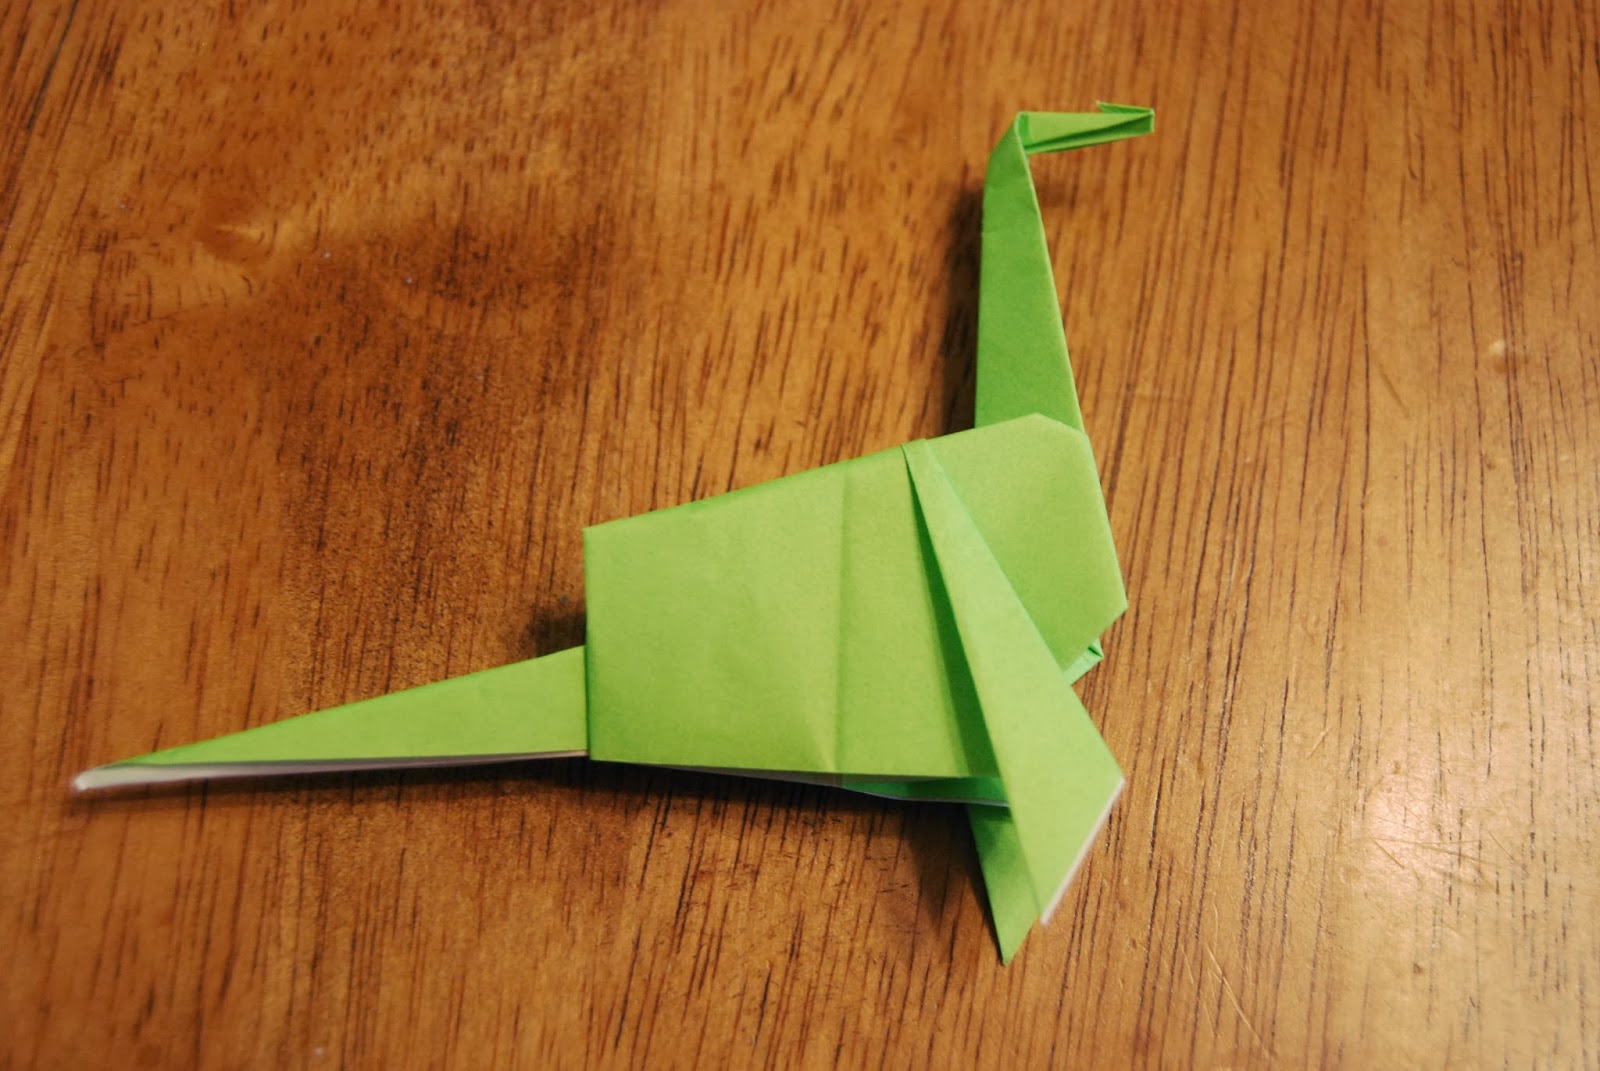
Origami Loch Ness Monster
The Loch Ness Monster is a model that I'm very proud of. This is because it is a model that I designed myself. I was making an origami horse when I realized that with some (okay, a lot) of altercations it could become a Loch Ness Monster. It is a pretty complex model, so I wouldn't recommend it for beginners.
Step 1: Fold a fish base and have the two triangles pointing to the right
Step 2: Mountain fold the bottom up and around to the top
Step 3: Take the far left tip and inside-reverse fold it up. The point sticking in the air should be parallel with the center crease line (and about a centimeter or two away from it).
Step 4: Open the flap up and valley fold the top right and left edges to the center
Step 5: Close the flap to finish the neck
Step 6: Inside reverse fold the top point down to become the head
Step 7: Fold the tip back a little bit so the head isn't so pointy
Now it's time to shape the fins...
Step 8: Valley fold the triangle flap over
Step 9: Valley fold it down at the angle shown in the picture
Step 10: Turn the model over and do the same with the other flap
Now to make the body/tail...
Step 11: Open up the model from the back...
...and valley fold it partway forward...
...then valley fold it back over. This is a crimp fold.
Step 12: Squash fold both sides of the tail in (sorry I didn't go into detail here... if you need help, a similar squash fold is used in step 10 of the stingray and I do have more details there)
Nearly done! To finish Nessie, just mountain fold the top portions (on both sides down) to thin her up.
Your Loch Ness Monster is completed!


Comments
Post a Comment