Origami Stingray
The stingray is a relatively easy origami model that looks very realistic. It is also one of my favorite models. It does take a pair of squash folds and a reverse fold, but a beginner should be able to do it with a little practice.

Step 1: Fold a kite base

Step 2: Valley fold the far left point over so the white triangle is completely covered

Step 3: Unfold all the folds on the paper

Step 4: Valley fold the left point back down at the same angle, and then fold the other two flaps back down on top of it

Step 5: Valley fold edge AB so it aligns with the center, then valley fold edge BC so it also aligns with the center


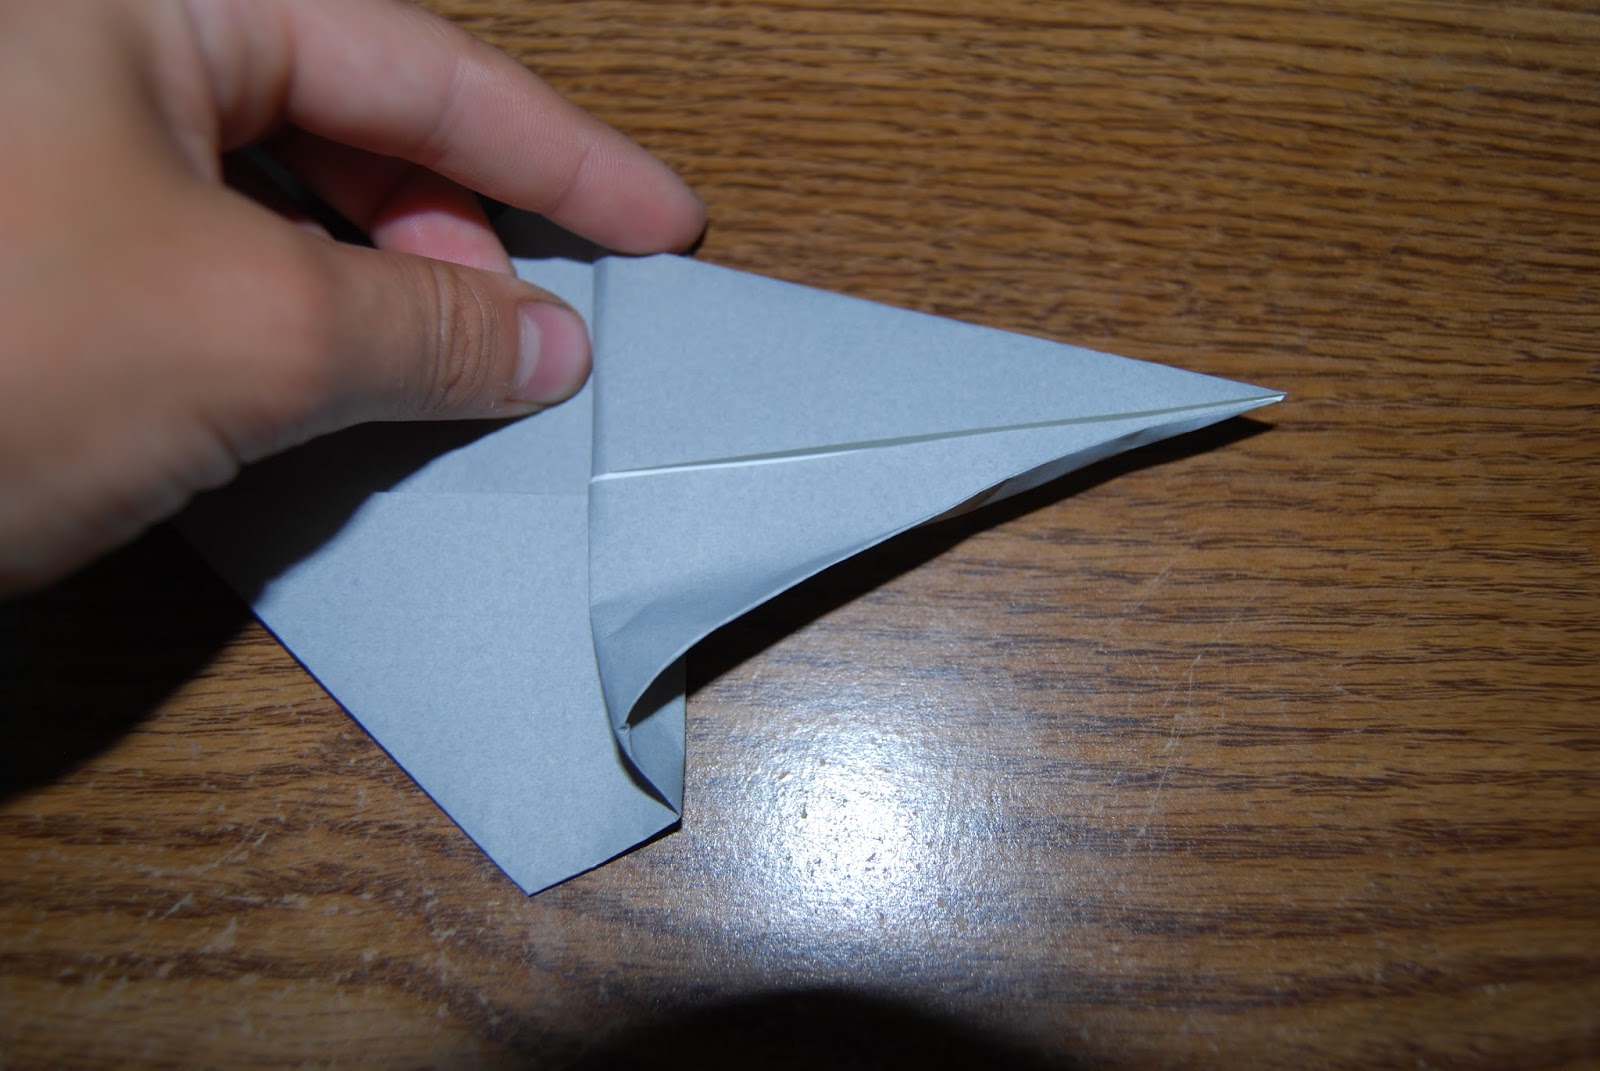
Step 6: Unfold the bottom part and reverse fold the flap in by opening the flap and pressing the paper down so it hides the flap underneath


It should look like this:

Step 7: Repeat step 6 on the top part

Step 8: Valley fold the far right point over (make sure to have it go further than the far left point)

Step 9: Mountain fold the flap back (crimp fold) leaving some paper left in between

Step 10: Squash fold edge AB to the center line, and make sure to squash point B so it ends up in the middle of the bottom half

Step 11: Do the same on the top part

Step 12: Valley fold point A back at an angle (just the top layer)

Step 13: Valley fold point B back as well

Step 14: Mountain fold the model in half, then valley fold along edge AB so the back stands out

Your stingray is now complete!


Comments
Post a Comment