Origami Dragon (harder)
The dragon is my favorite origami model but it is definitely not a beginner model. To fold it, you need to be able to petal, squash, sink, valley, and reverse fold. If you can't do all of these folds, refer to the folds post.

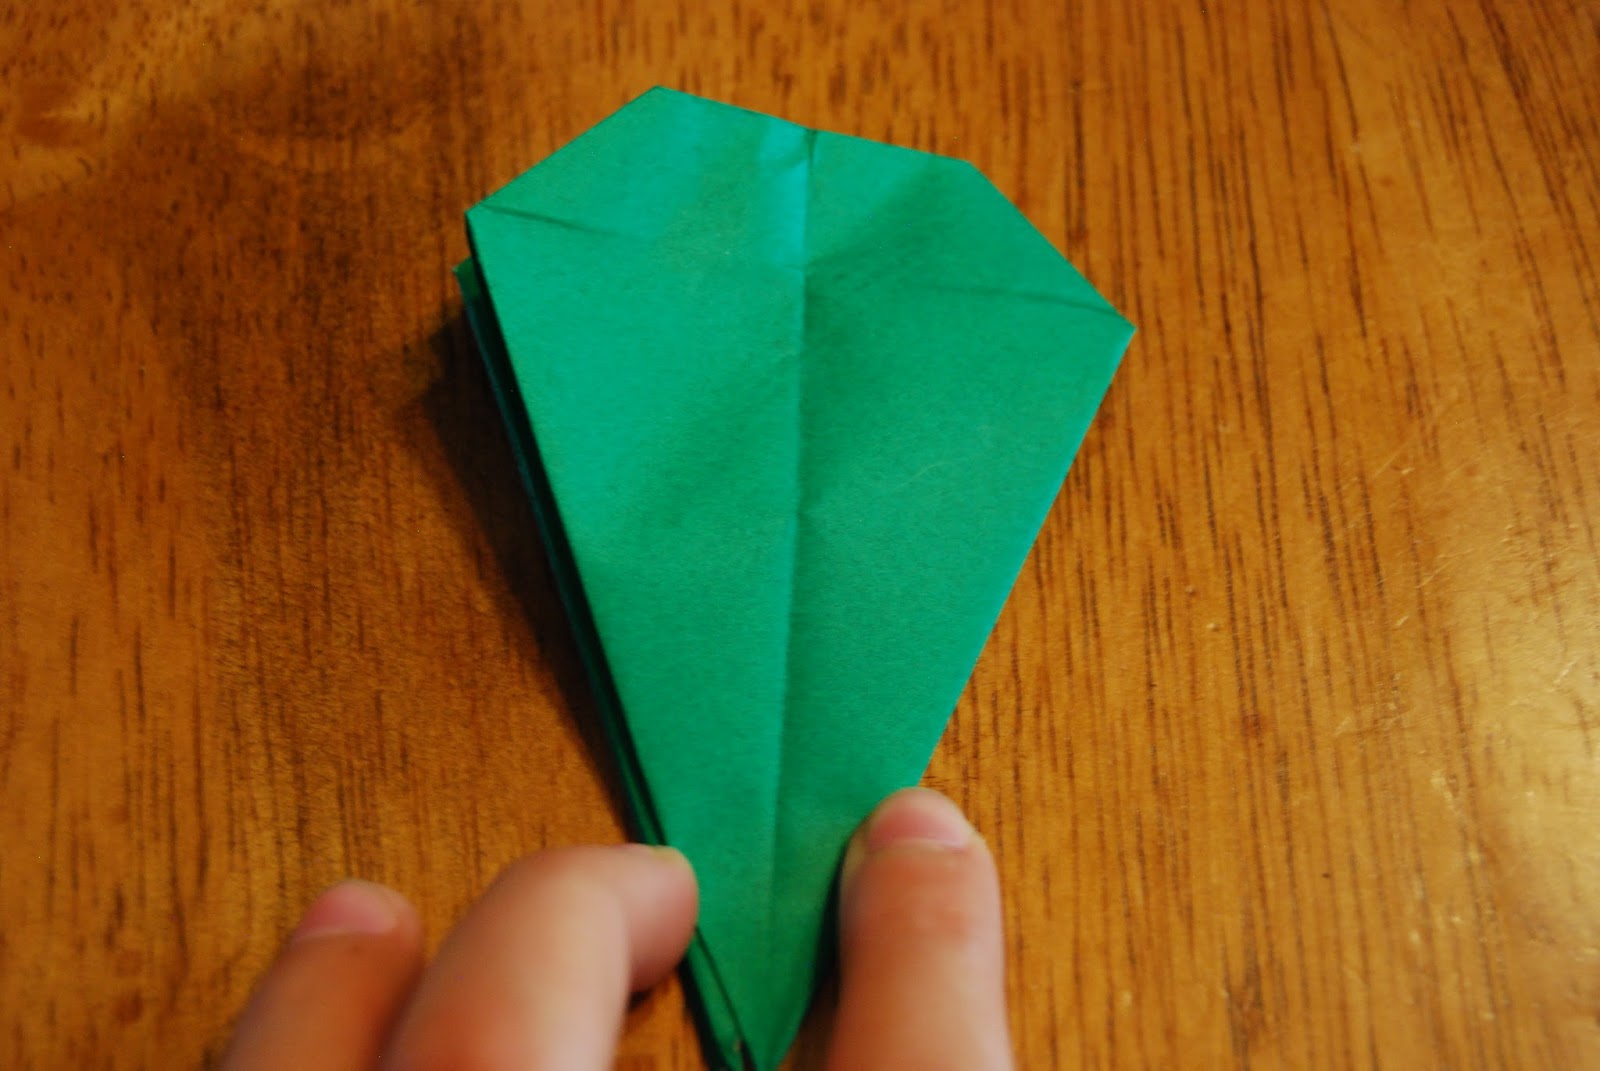
Step 1: Fold a bird base and have the separate points at the bottom

Step 2: Valley fold the top point down

Step 3: Mountain fold the top point down around the back

Step 4: Valley fold the top point to the middle crease line, crease, and unfold


Step 5: Now open the paper and sink fold the tip down. You will see a small square in the middle...

... and pinch the edges a little to define them...


...now press the center point down to 'sink' it

It should look like this:


Step 6: Valley fold the top layer on the right to the left
Step 7: Valley fold the bottom point up

Step 8: Valley fold point A to point B (refer to pic above)

Step 9: Repeat steps 6-8 on the right side (don't forget to reverse the rights and lefts)

Step 10: Take the top layer on the far right and hold it so it stands straight up

Step 11: Valley fold the crease in the middle of that flap so it points to the right...


...and flatten the flap that was standing up


Step 12: Now open the top layer and valley fold edge AB down to the bottom edge...


...and flatten

Step 13: Turn the model over and repeat step 12 on this side

It will look like this:

Step 14: Repeat steps 10-13 on the right side

The two sides will now be identical

Step 15: Valley fold the bottom point up...

...and mountain fold the other point up and around

Step 16: Valley fold the left edge of the triangle to the bottom, crease, and unfold


Step 17: Valley fold the right edge of the triangle to the bottom, crease, and unfold


Step 18: Rabbit ear fold the flap to the right


Step 19: Valley fold the tip of the flap (the one you just rabbit ear folded) so it points at an angle to the left

Step 20: Turn the model over and repeat steps 16-19 on this side


Step 21: Valley fold the far left point straight up

Step 22: Crease, unfold, and reverse fold it up


Step 23: Valley fold the tip so it points left again, crease, unfold, and reverse fold


Step 24: Open the top of the head and valley fold it back (pleat fold)

Step 25: To form the legs valley fold the tip down and unfold

Step 26: Valley fold it up and unfold

Step 27: Rabbit ear fold the leg down into position

Step 28: If you want you can pinch and fold the tip to form a foot

Step 29: Take the back tip and valley fold it to the left, unfold, fold up, then unfold


Step 30: Now rabbit ear fold the flap down again
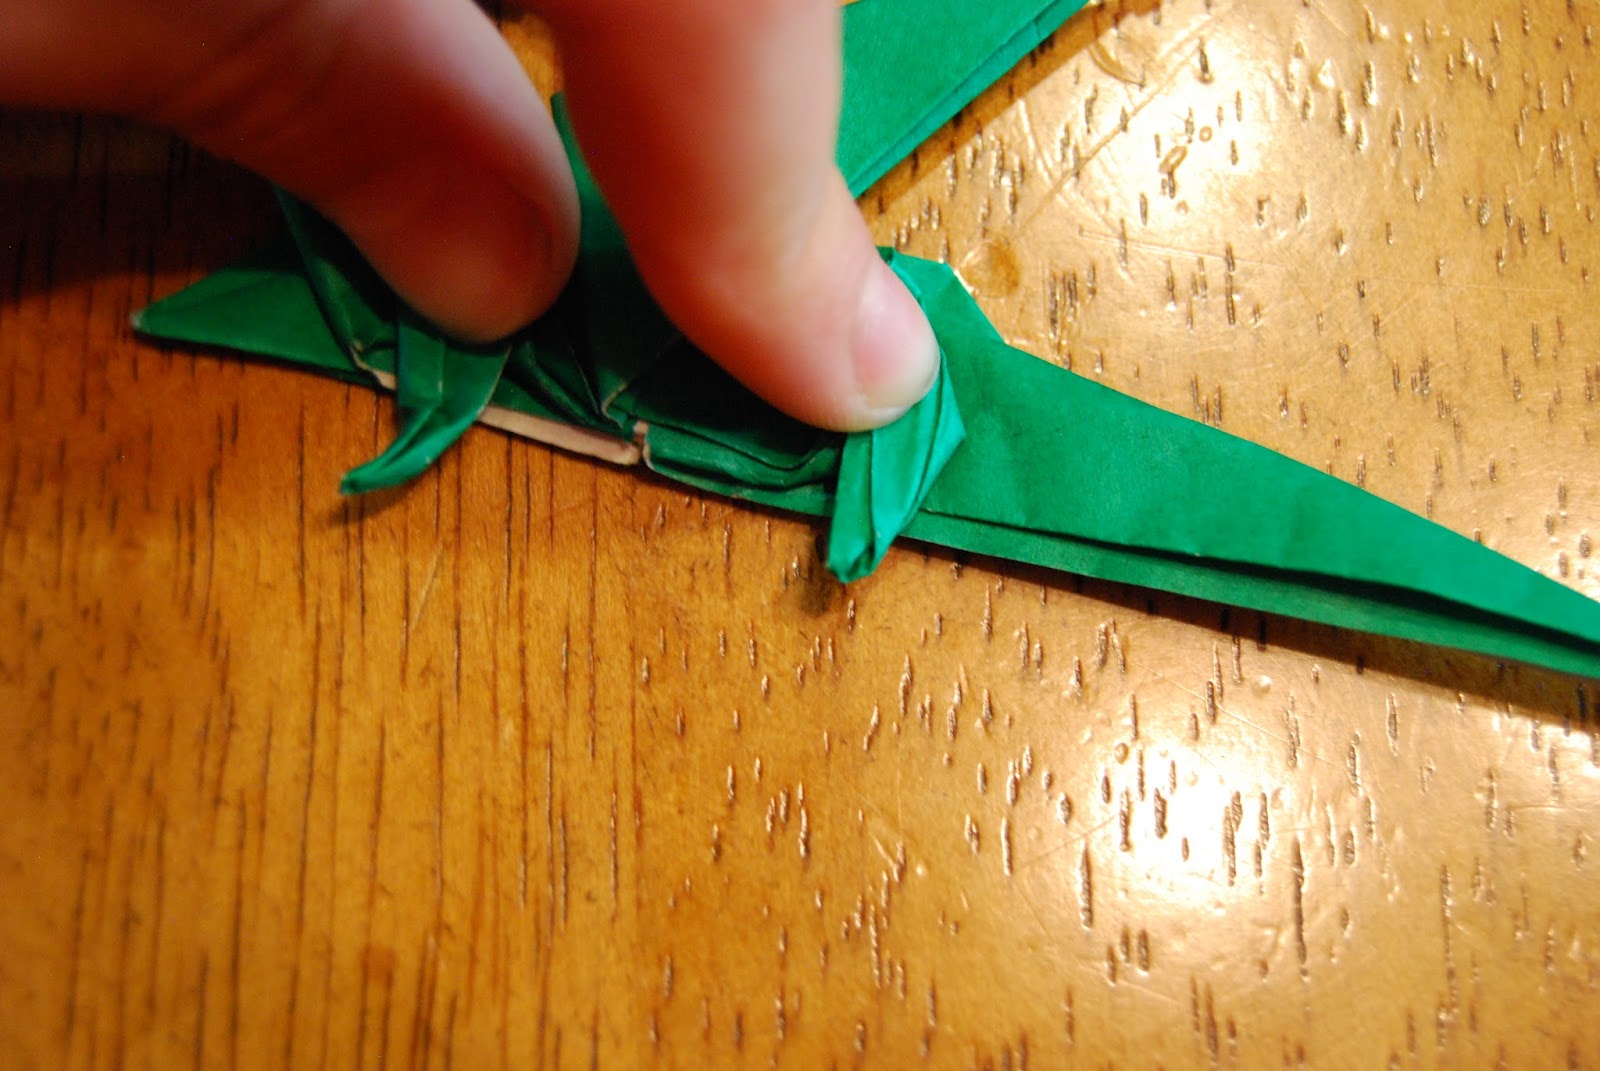
Step 31: Repeat on all the remaining limbs

Step 32: Open the tail and wrap it around a pencil to give it a nice curve


Step 33: Squash fold the tip of the wing straight down, and then down to the side


This will give you a nice 3-D wing

Step 34: Repeat step 34 on the other wing

Your awesome dragon is now complete!


I am very confused on step 8.
ReplyDeleteI will try to edit the step soon to clarify
DeleteYou should also post a video of you making it.
ReplyDelete