Posts

Showing posts with the label Animals

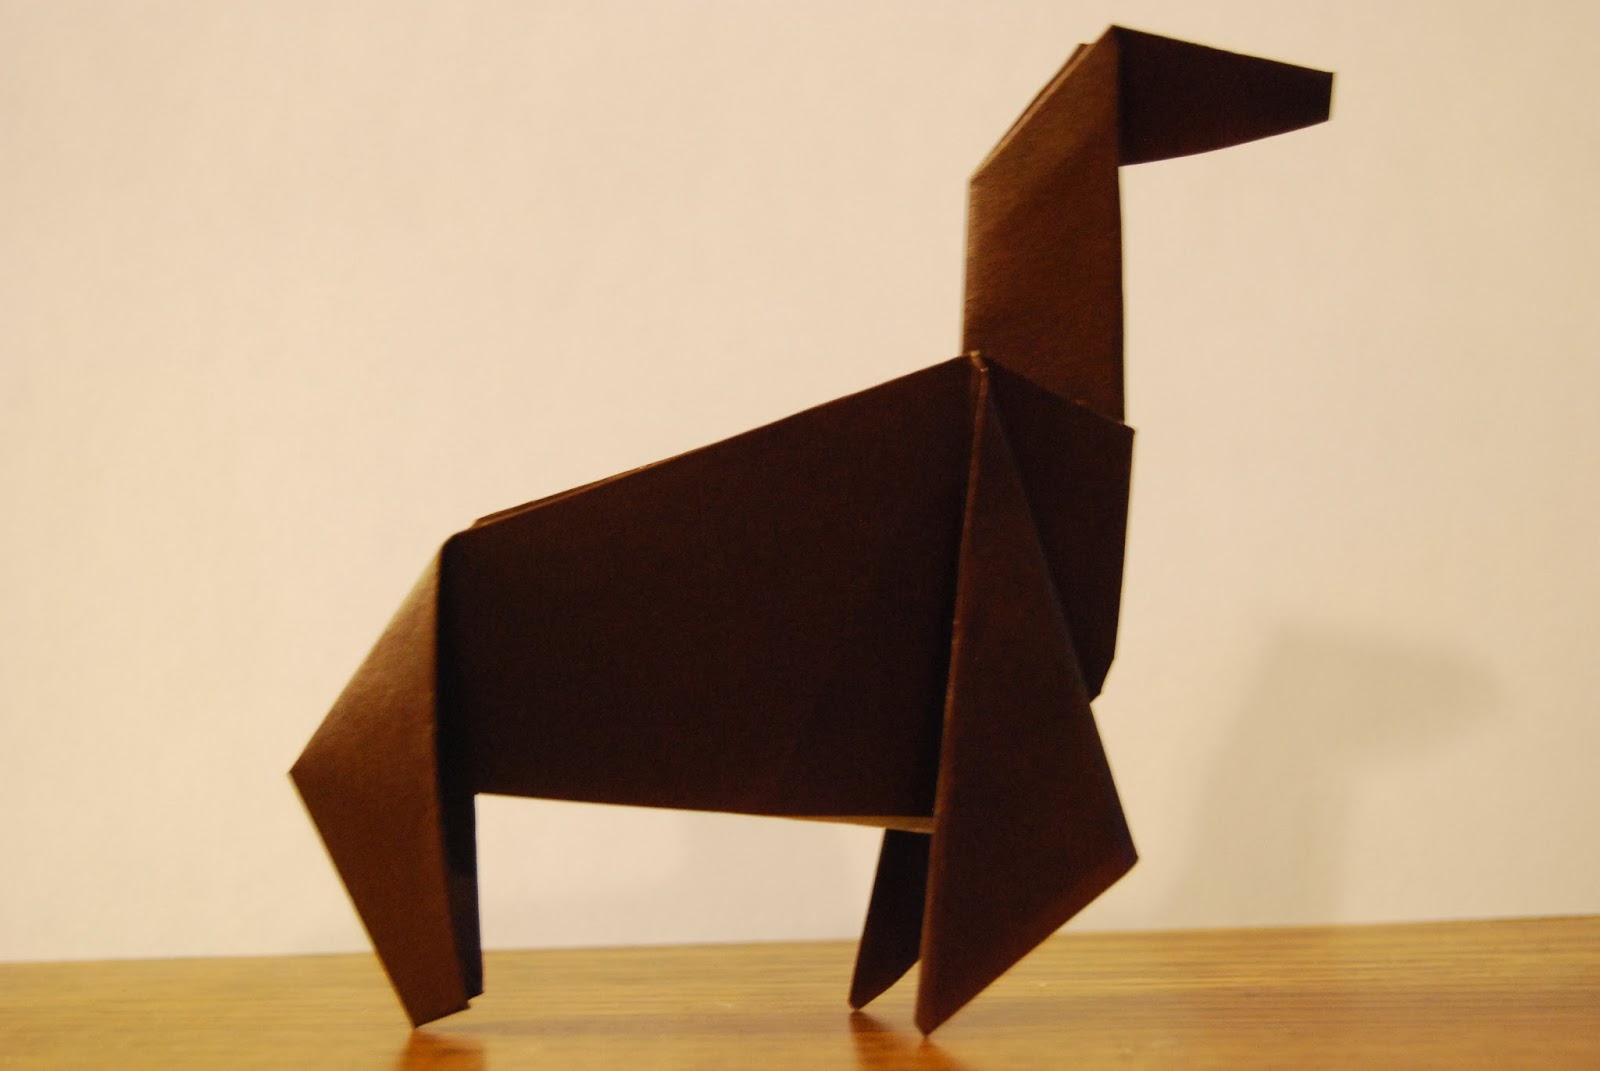
Origami Horse

Image
The horse is a pretty realistic-looking model. It is similar to  The Loch Ness Monster  in design, although the outcome is quite different. It looks best when made of brown paper, and if you have patterned paper this is a model that works good (with zebra patterned paper you could make a zebra). Step 1: Fold a  fish base Step 2: Mountain fold the bottom point around and up to the top Step 3: Valley fold the left point up... ...unfold... ...and inside reverse fold the flap up Step 4: Precrease and inside reverse fold the top point down Step 5: Valley fold the point back to form the head of the horse Step 6: To start forming the front legs, valley fold the triangular flaps over the right Step 7: Valley fold the flap back over partway Step 8: Precrease, then outside reverse fold the far left point down Step 9: Valley fold that tip back partway so the feet are flatter and the legs shorter...

Origami Loch Ness Monster

Image
The Loch Ness Monster is a model that I'm very proud of. This is because it is a model that I designed myself. I was making an origami horse  when I realized that with some (okay, a lot) of altercations it could become a Loch Ness Monster. It is a pretty complex model, so I wouldn't recommend it for beginners. Step 1: Fold a  fish base  and have the two triangles pointing to the right Step 2: Mountain fold the bottom up and around to the top Step 3: Take the far left tip and inside-reverse fold it up. The point sticking in the air should be parallel with the center crease line (and about a centimeter or two away from it). Step 4: Open the flap up and valley fold the top right and left edges to the center Step 5: Close the flap to finish the neck Step 6: Inside reverse fold the top point down to become the head Step 7: Fold the tip back a little bit so the head isn't so pointy  Now it's time to shap...

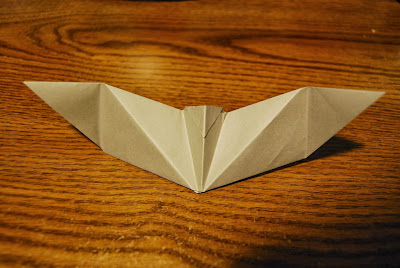
Origami Bat

Image
This easy origami bat is a great Halloween model designed by Nick Robinson. You can even attach a string to them hang your colony of bats for spooky, simple, and cheap decorations. Black paper makes the most convincing bats, but I used grey because it is slightly easier to photograph. Step 1: Start with your paper color side down Step 2: Valley fold the bottom corner up to the top Step 3: Valley fold the left corner over to the right Step 4: Crease and unfold Step 5: Valley fold the bottom edge about three-fourths of the way up Step 6: Valley fold the top corner down almost all the way It should look like this at the top: Step 7: Mountain fold the model in half along the center axis Step 8: Valley fold the far right flap (just the top one) up so it matches the angle in the picture below Step 9: Mountain fold the other right flap behind the model so it is at the same angle Step 10: Valley fold the lef...