Origami Bat
This easy origami bat is a great Halloween model designed by Nick Robinson. You can even attach a string to them hang your colony of bats for spooky, simple, and cheap decorations. Black paper makes the most convincing bats, but I used grey because it is slightly easier to photograph.

Step 1: Start with your paper color side down

Step 2: Valley fold the bottom corner up to the top

Step 3: Valley fold the left corner over to the right
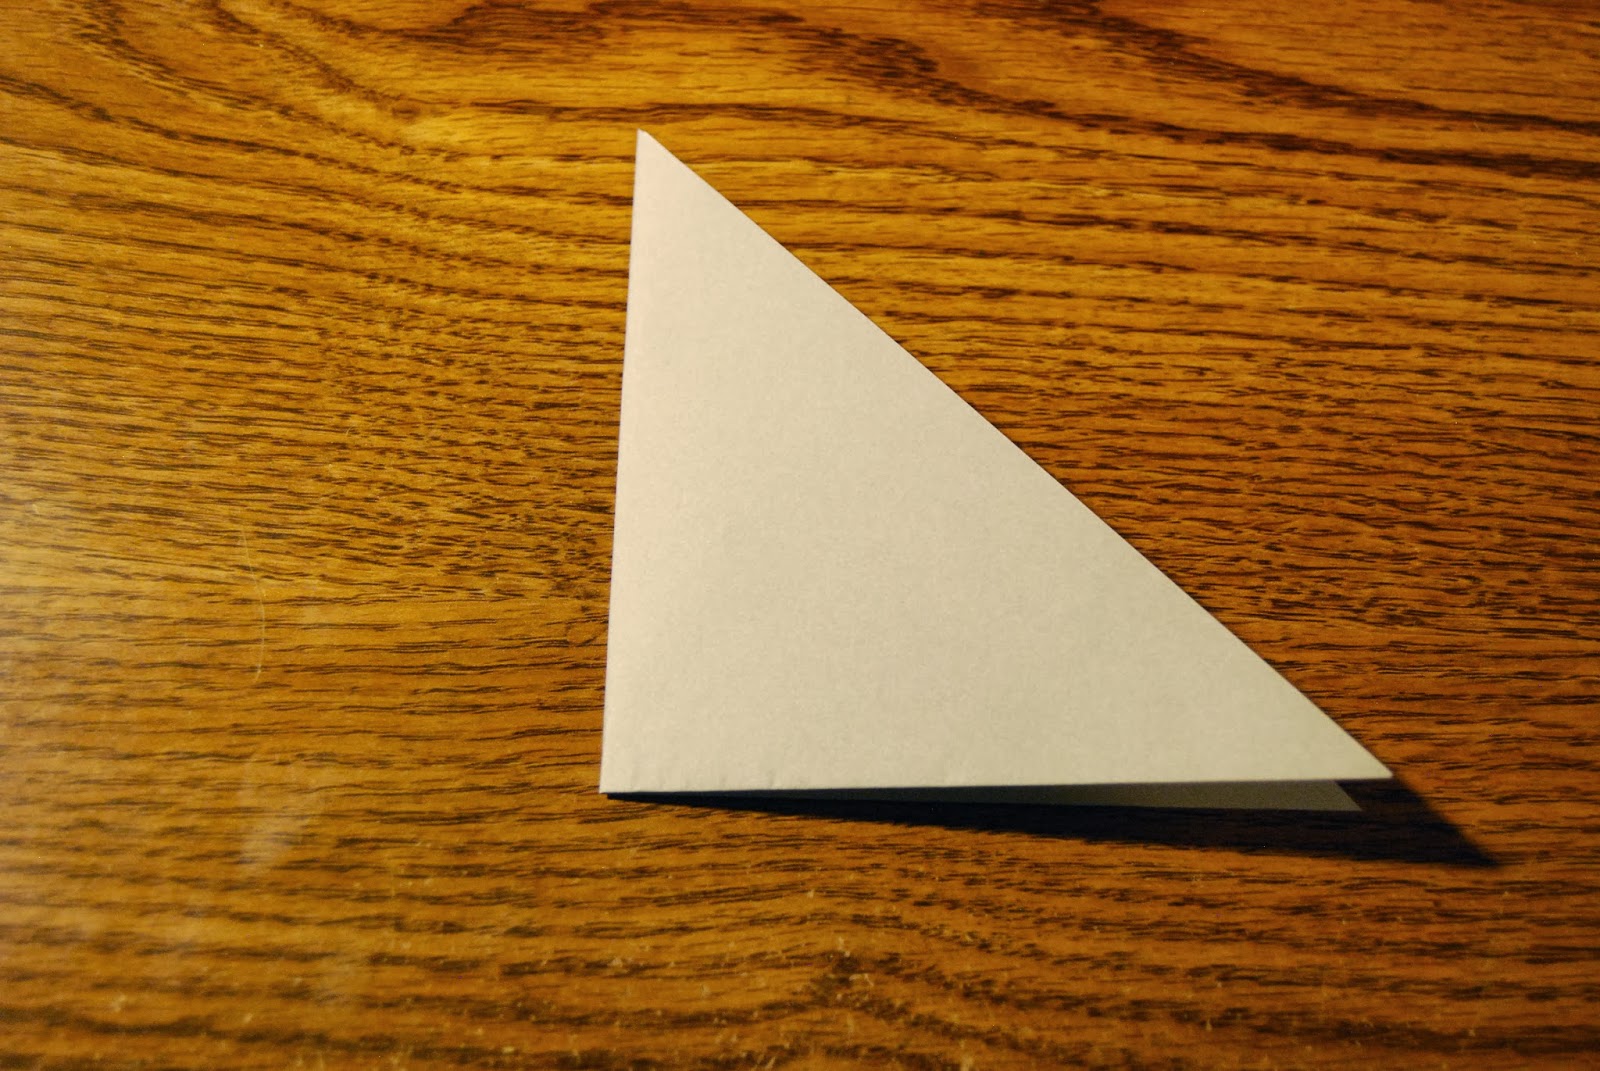
Step 4: Crease and unfold

Step 5: Valley fold the bottom edge about three-fourths of the way up

Step 6: Valley fold the top corner down almost all the way

It should look like this at the top:

Step 7: Mountain fold the model in half along the center axis

Step 8: Valley fold the far right flap (just the top one) up so it matches the angle in the picture below

Step 9: Mountain fold the other right flap behind the model so it is at the same angle

Step 10: Valley fold the left edge over so it aligns with the right

Step 11: Mountain fold the other left edge back behind the paper

Step 12: Valley fold the top point down at the angle shown in the picture below

Step 13: Mountain fold the top point down so it aligns with the flap folded in step 12

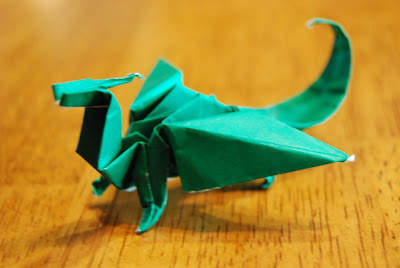
Step 14: Turn the model sideways so it faces you, grab the two end points, and pull outward to complete your bat!

Ta-da! A spooky bat perfect for Halloween!


Comments
Post a Comment