Origami Boutonniere
The boutonniere is relatively easy origami flower folded from an inverted square base. It's not the most intricate flower, but it is much faster to fold than other flower models (such as the lily).
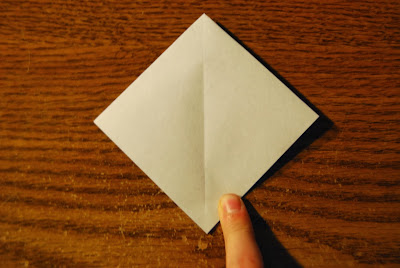
Step 1: Fold a square base, BUT start with the paper color-side up. This will make the outside of the square base be white instead of colored (although if you're using paper with color on both sides it doesn't matter).
Step 2: Valley fold the top left edge to the center
Step 3: Valley fold the top right edge to the center
Step 4: Turn the model over and repeat steps 2 and 3 on this side...
...so it looks like this on both sides:
Step 5: Rotate the model 180 degrees
Step 6: Valley fold the left half over to the right
Step 7: Valley fold the bottom point up partway (the exact angle doesn't really matter; just have it look similar to the picture)
Step 8: Unfold and inside reverse fold the point into position
Step 9: (top view) Unfold the flaps at the top...
...carefully...
...until it opens up all the way
Your boutonniere is now finished!
To make sure it holds its shape, you can paperclip the stem. This keeps it from folding in on itself.


Comments
Post a Comment