Origami Lily
The lily is my personal favorite origami flower. It looks nice, but it does require several tricky folds making it a more difficult model.

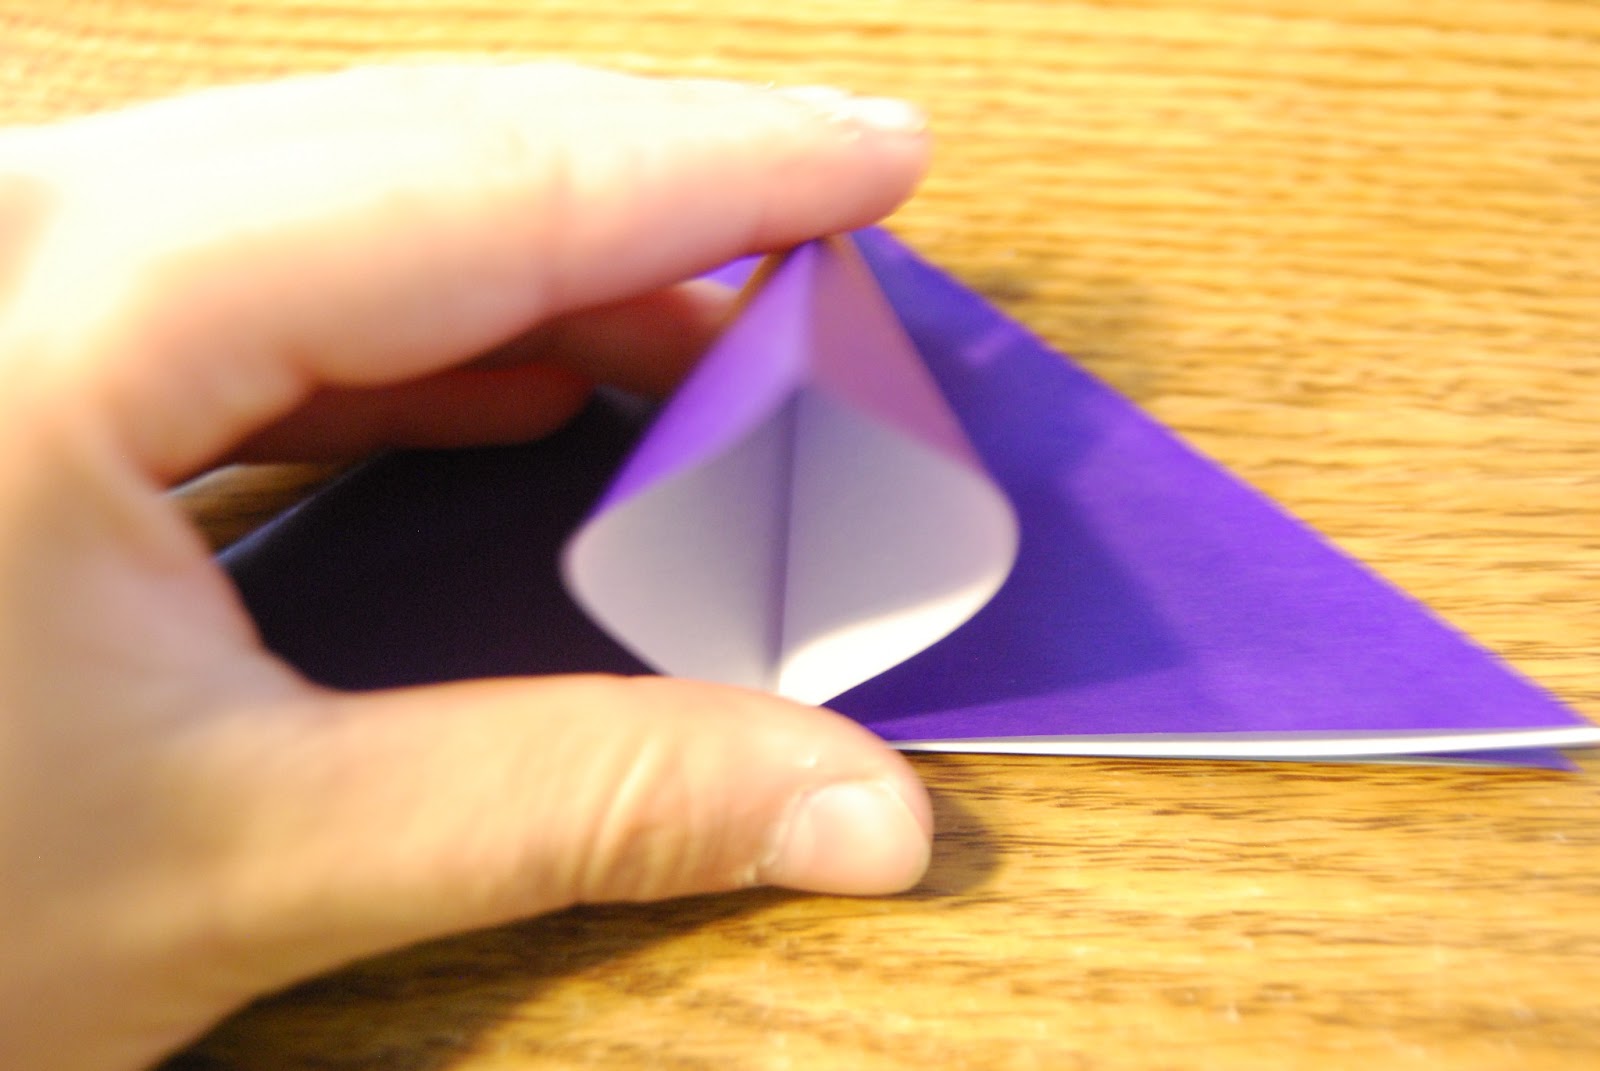
Step 1: Fold a waterbomb base (yes, a waterbomb base)

Step 2: Take the right flap, move it to the center, and then squash fold it down


Step 3: Turn the model over and repeat step 2 on this side


Step 4: Fold the right point of this new flap over

Step 5: Squash fold the right flap down

Step 6: Turn the model over and repeat steps 4 and 5 on this side

It should look like this:

Step 7: Valley fold the bottom left edge to the center

Step 8: Valley fold the bottom right edge to the center

Step 9: Valley fold the top point the the bottom

Step 10: Unfold the last three folds

Step 11: Petal fold the bottom point up (see folds post if you haven't petal folded before)


It should look like this:

Step 12: Turn the model over and repeat steps 7-11 on this side


Step 13: Now 'split' the sides by putting your fingers in the middle of the flaps and opening it up (on both sides). This gives you 'fresh' sides to work with.

Step 14: Repeat steps 7 through 12

It should look like this:

Step 15: Valley fold the top point down (sorry about the sideways picture)

Step 16: Turn the model over and repeat step 15 on this side


Step 17: 'Split' the sides again...
...then repeat steps 15 and 16

Step 18: Valley fold the top left edge to the center

Step 19: Valley fold the top right edge to the center

Step 20: Turn the model over and repeat steps 18 and 19 on this side


Step 21: 'Split' the sides again...

...and repeat steps 18 through 20

Step 22: Rotate the model 180 degrees

Nearly done!
Step 23: Take the top flap and curl it down using a pencil or pen (sorry again about the sideways pic)


Step 24: Curl the other three petals down...

...to complete your origami lily!


Comments
Post a Comment