Origami Pig
The pig is a relatively simple origami animal. The pig looks pretty realistic, especially if made out of a nice bright pink piece of paper.
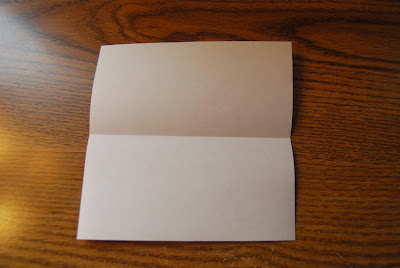
Step 1: Start with your paper color side down and valley fold the top to the bottom
Step 2: Unfold
Step 3: Valley fold the top and bottom edges to the center crease line
Step 4: Turn the model over
Step 5: Valley fold the model in half
Step 6: Unfold
Step 7: Valley fold the left and right edges to the center
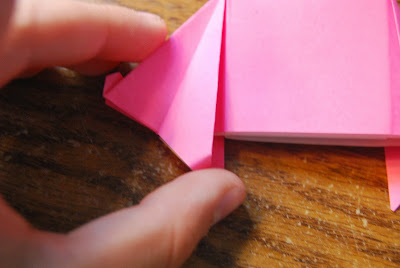
Step 8: Squash fold the top left partition by taking the bottom edge of the top left square and squash folding it over (see pic below)
It should look like this:
Step 9: Repeat step 8 on the other four partitions
Step 10: Valley fold the middle point (on the right) to the far left
Step 11: Valley fold the bottom half up to the top
Step 12: Valley fold the top edge of the left corner down...
...like so:
Step 13: Do the same on the front
Step 14: Turn the model over and repeat steps 12 and 13
Step 15: Once it looks like this valley fold the far left point up slightly, crease and unfold
Step 16: Inside reverse fold the flap up
Step 17: Valley fold the very tip down a tiny bit
Step 18: Reverse fold the point down to form a snout
Step 19: Unfold the top of the model to the bottom
Step 20: Valley fold the left part of the model to the right along the already present center crease
Step 21: Valley fold it back partway (crimp fold)
Step 22: Valley fold the bottom back up to the top. Now your pig will be a little more fat.
If you want you can paperclip the top so the pig does not stay wide open. If you don't have a paperclip or tape, I would just unfold what you did in steps 20-22.
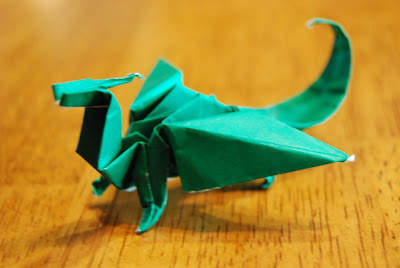
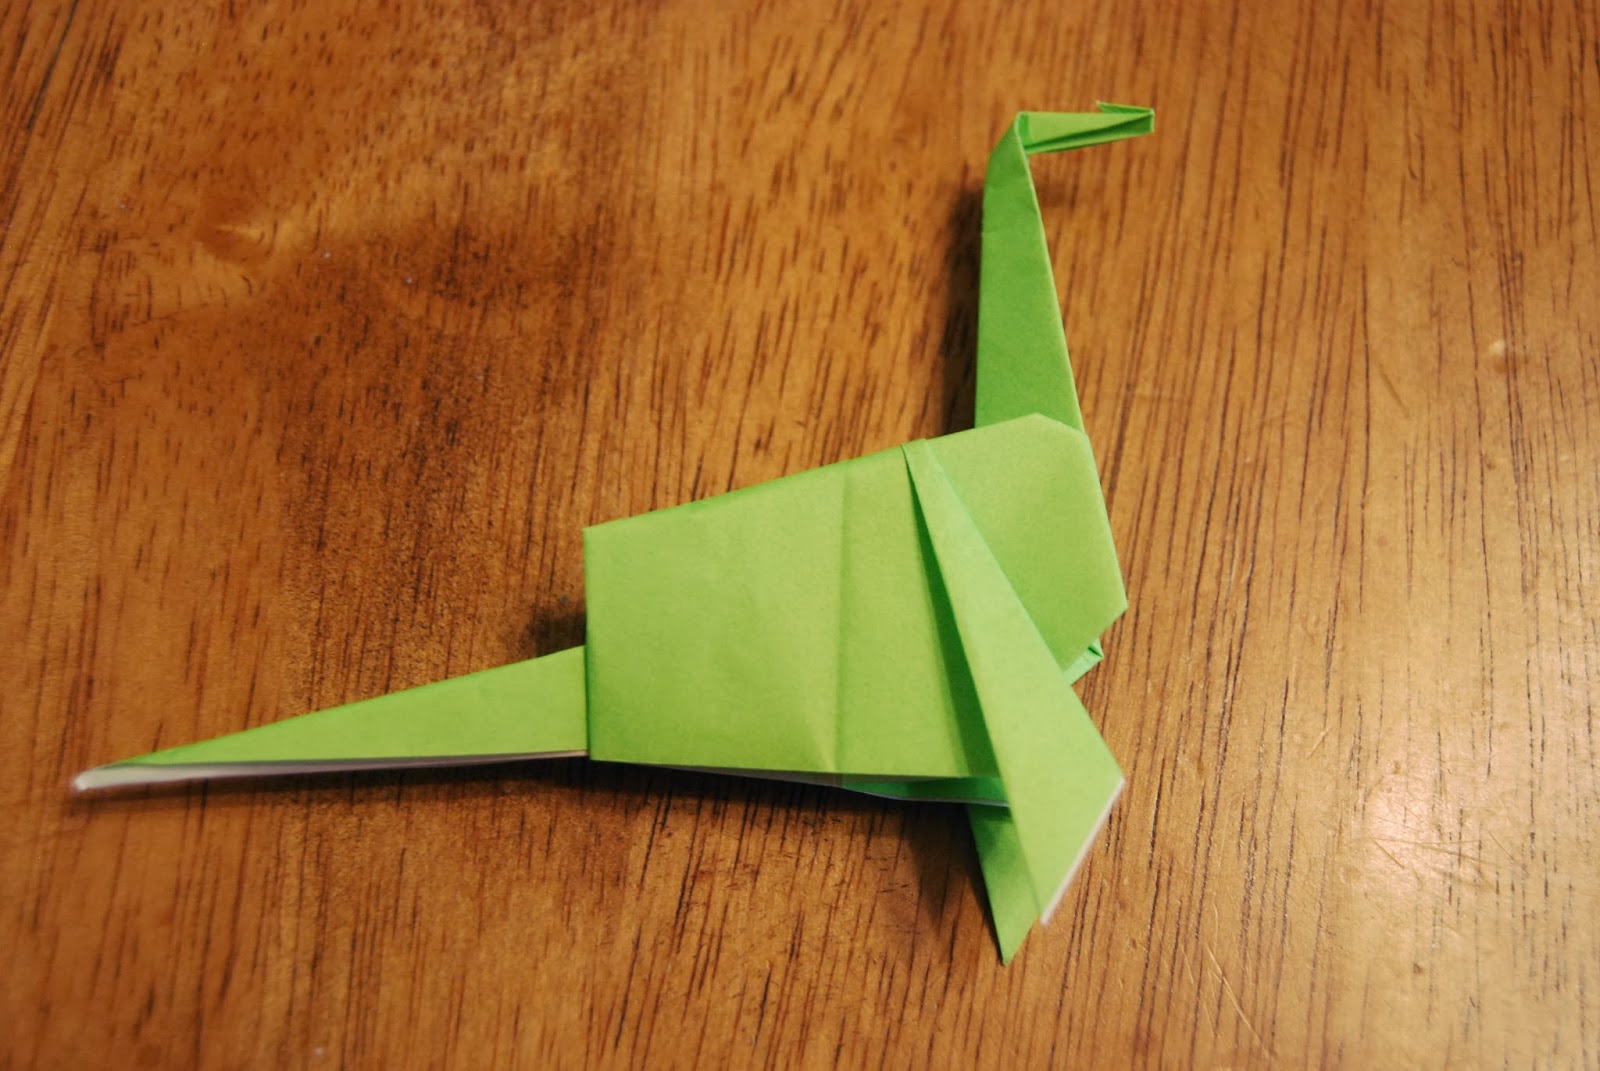
Step 23: To form the feet do a modified crimp fold (just like in the dinosaur), pushing the tip back
Step 24: Do this to all four feet and your adorable piggy is complete!


Comments
Post a Comment