The Dinosaur
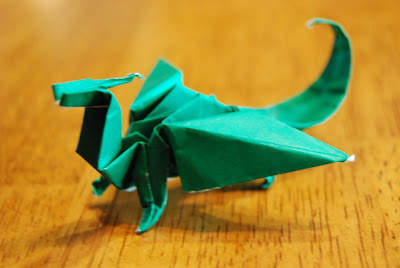
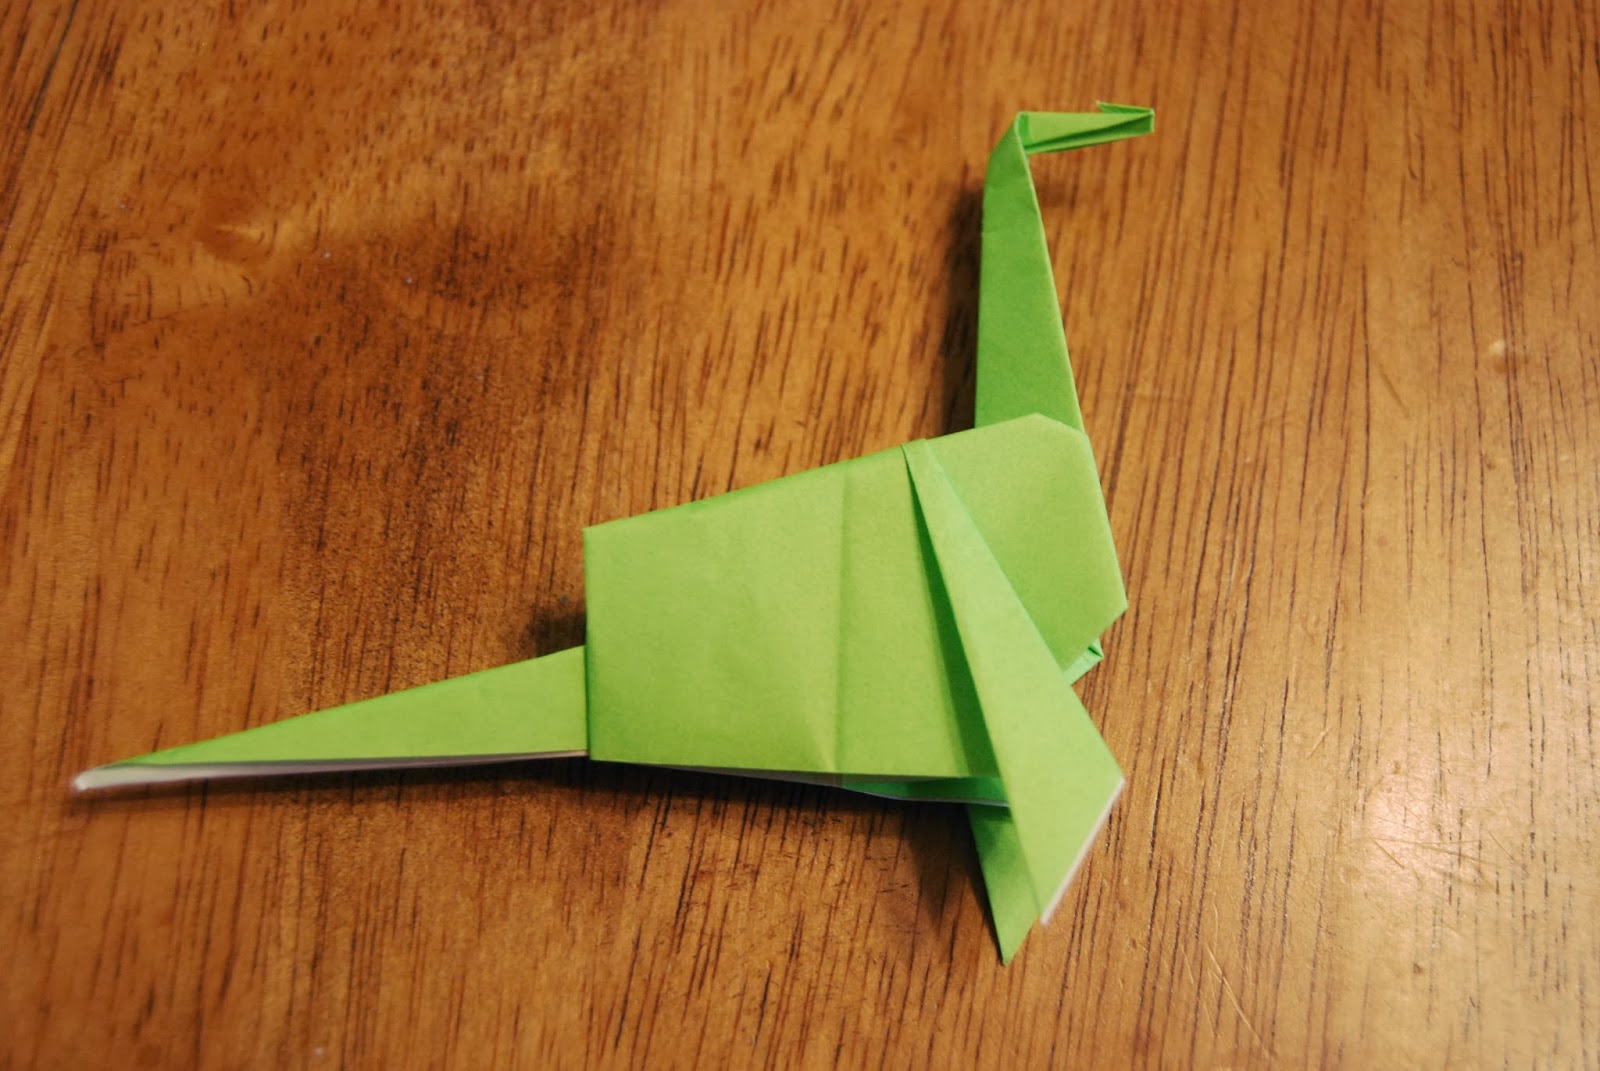
The dinosaur is a cute model to fold and even stands up on its own if you do it right. It is not for new beginners, but you can do it as long as you know how to do inside/outside reverse folds well, and how to fold a bird base.

Step 1: Fold a bird base and have the two separate flaps point to the right
Step 2: Take the top flap at the left hand side and valley fold it to the right side
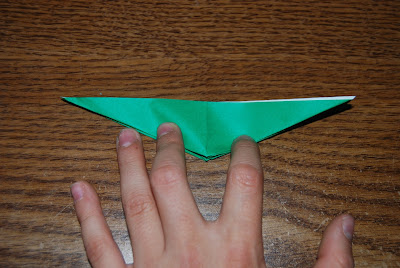
Step 3: Valley fold the top of the model to the bottom. Make sure you fold all of the layers down.
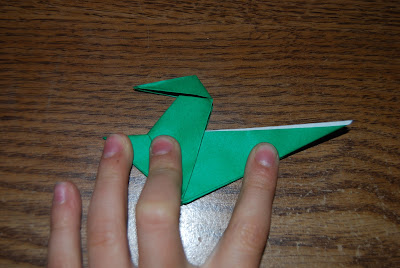
Step 4: Outside reverse fold the left hand flap up at the angle below. Because of the underlying flaps that you don't want folded, you can't precrease the fold, so just open it up, pull it back, and flatten.
Step 5: Take the top of the newly formed portion and valley fold it down so it is parallel with the top of the body
Step 6: Unfold
Step 7: Mountain fold the same part at a similar angle. The picture is a little off.
Step 8: Unfold
Step 9: Outside reverse fold the flap down to form the head of your dinosaur
Step 10: Take the far left point and valley fold it down. It is OK to have the fold be partially hidden under the neck. If it is like this it will look better.
Step 11: Unfold
Step 12: Mountain fold the left hand flap at the same angle
Step 13: Inside reverse fold the flap in and flatten. This forms the arms of the dinosaur
Step 14: Take the top layer at the right hand side and valley fold it down at the angle shown in the picture
Step 15: Mountain fold the point at the back so it lines up with the one folded in step 14
Step 16: Grip the paper midway down the point and push the point you are grasping behind the paper so it forms a foot like below. This is sort of a modified crimp fold
Step 17: Turn over and repeat step 16 on this side
Your dinosaur is now completed! They kinda stand up, but you have to crease them well, and even then they usually like to do the splits.


Comments
Post a Comment