The Standing Container
The standing container is a medium level model to fold. To fold it you have to be able to do a squash fold well, or it won't turn out. If you do it correct though, you end up with a very sturdy and cute container. There are several variations you can make on the flaps that stick out from the sides.

Step 1: Start with a blintz base

Step 2: Valley fold the top right corner to the bottom left, crease, and unfold


Step 3: Valley fold the top left corner to the bottom right, crease, and unfold


Step 4: Mountain fold the top edge to the bottom, crease, and unfold


Step 5: Mountain fold the left edge to the right edge, crease, and unfold


Step 6: Now collapse the model like a square base


(sorry)

... and flatten

Step 7: Valley fold the top layer at the bottom point up and unfold


Step 8: Take the paper on both sides of the center point, open it up, and squash fold it flat


It will look like this:

Step 9: Turn the model over and repeat steps 7 and 8 on this side


Step 10: Valley fold the top left and top right corners in to the closest crease line


Step 11: Unfold both of the corners

Step 12: Valley fold the top edge down, but only crease the very center

Step 13: Now squash fold the rest of the flap flat
Step 14: Turn over and repeat steps 12 and 13 on this side

It will look like this on both sides:

Step 15: (top view) Take the model and place your fingers on the right and left side and flatten the paper so you have 'fresh' sides to work with


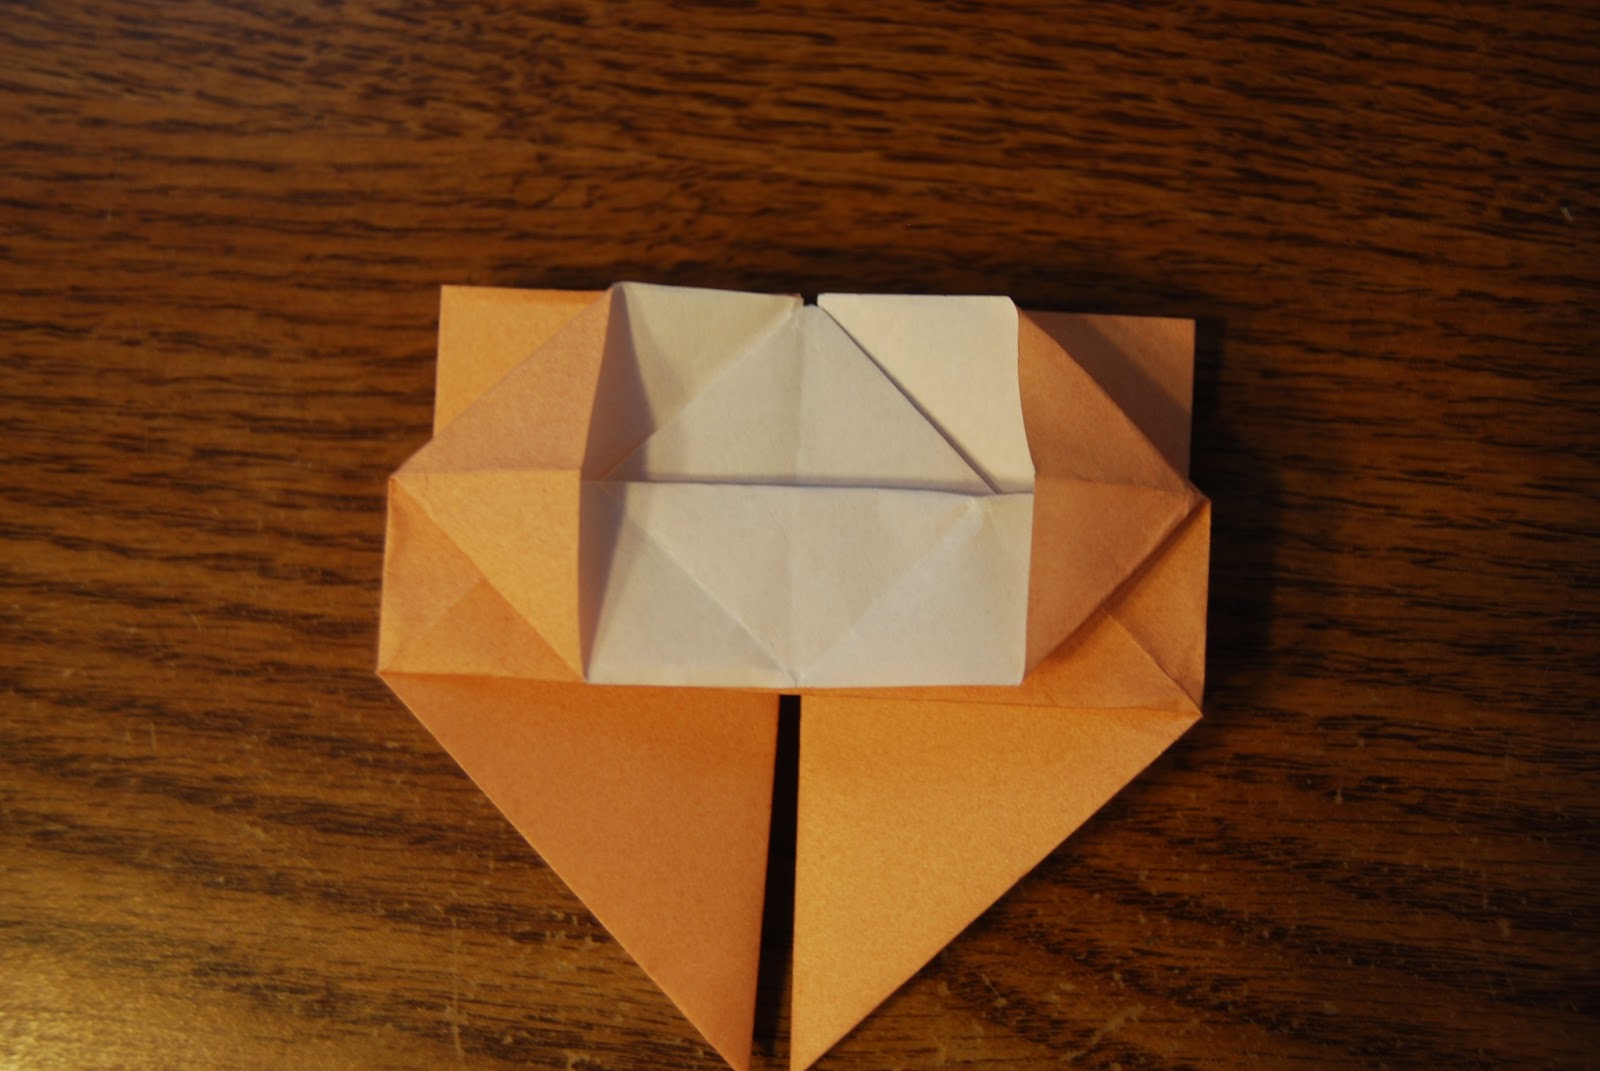
It will look like a heart

Step 16: Take the two flaps at the top and center and valley fold them down as shown below:


Step 17: Valley fold the top layers of both the right and left edges so they meet in the center

Step 18: Valley fold the top layer at the bottom corner up so it meets at the point closest to the bottom to where the two edges meet (or just refer to the pictures)

Step 19: Valley fold the bottom edge of the flap you just folded up

Step 20: Turn the model over and repeat steps 16 through 19 on this side

It will look like this:

Step 21: Rotate the model 180 degrees

Step 22: (top view) Grip the flaps sticking out on both sides and gently pull out, using your fingers to 'define' the bottom of the container


Your completed standing container!
If you want, you can tuck the flaps that are sticking out into the sides. Just tuck them into the little triangular pockets as shown below


Your flapless standing container!

If you would rather have more wing-like flaps, omit step 18 and proceed as normal.
The winged standing container!


Woah! I'm really enjoying the template/theme of this site.
ReplyDeleteIt's simple, yet effective. A lot of times it's hard to
get that "perfect balance" between user friendliness and
visual appearance. I must say that you've done a fantastic job with
this. In addition, the blog loads very fast for me on Safari.
Excellent Blog!