Posts

Showing posts from February, 2014

In case you were wondering...

Image
Since I started folding origami, I have often been asked where I keep all of the stuff I fold, and you might be wondering too, hence this post. I actually keep almost all of it in a fabric box in my room (there's some stuff that just floats around my room in various places). I kinda just throw it in there once I've posted the instructions. Amazingly, it doesn't get very squished because it's so lightweight, and it packs itself down without damaging what's underneath. Here's just some various pictures of it all. Here's the box. It's starting to overflow so I might have to get a second one. Another pic of the box I dumped it all out on the floor just to give you a better feel of how much there is. Another picture of it on the floor Another pic from a different angle.
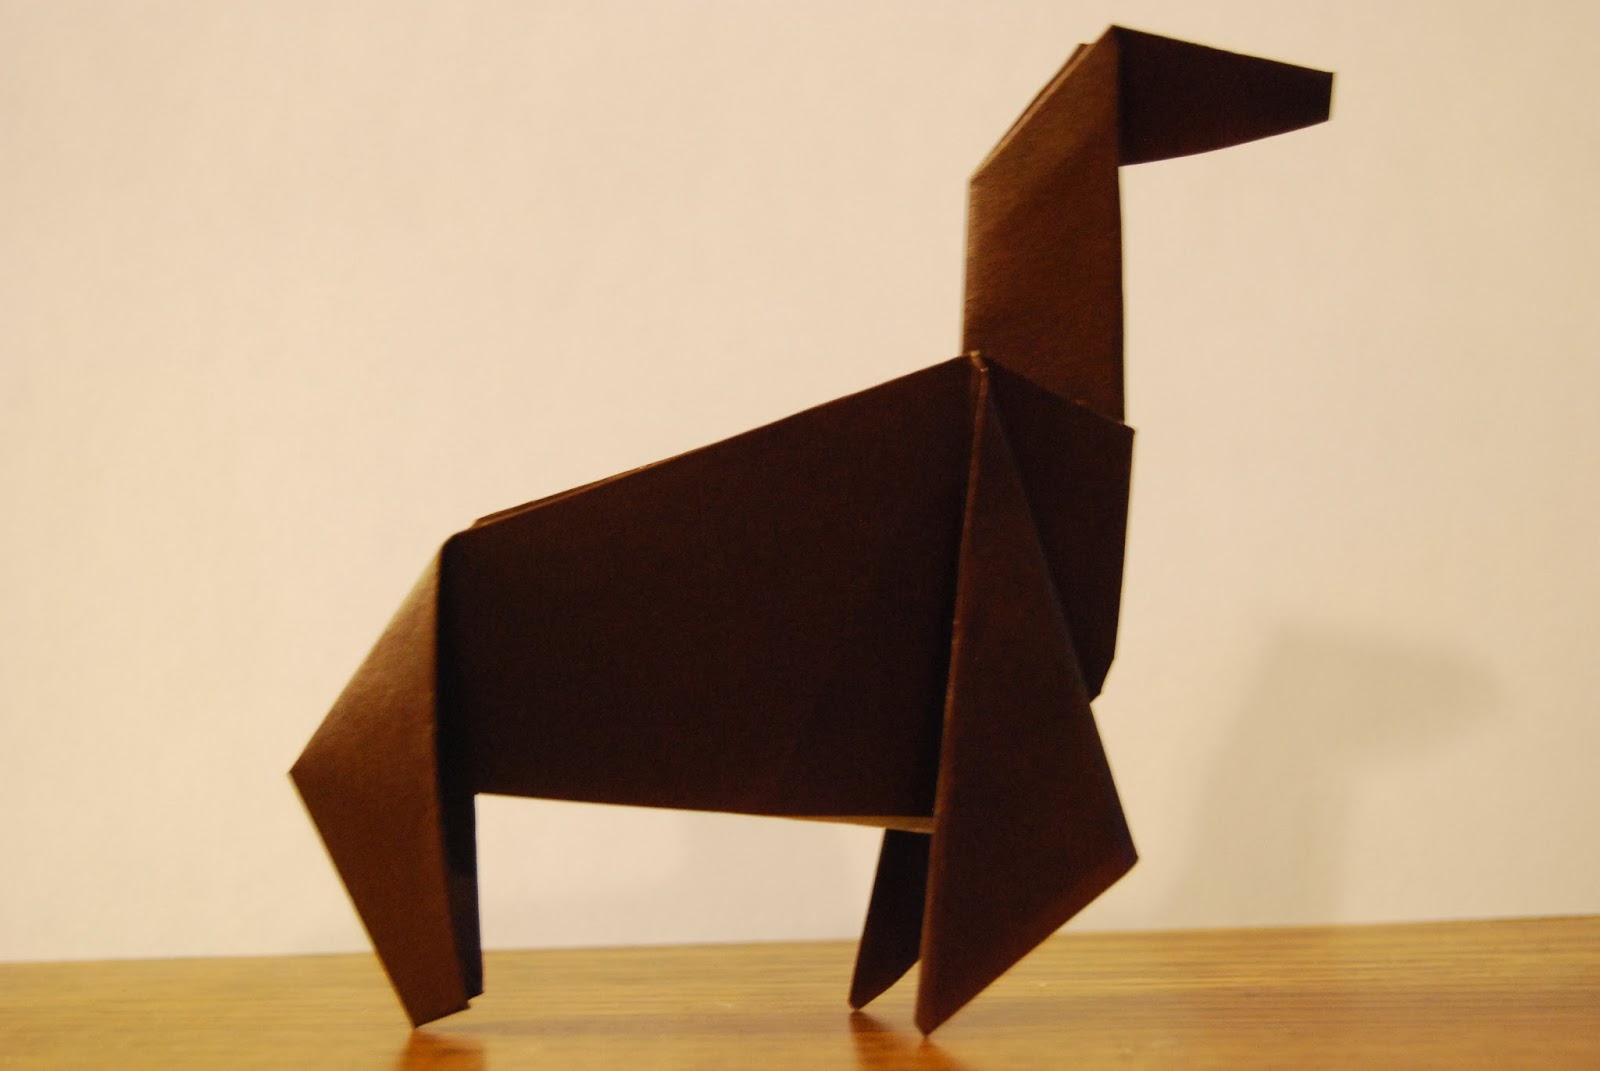
Origami Horse

Image
The horse is a pretty realistic-looking model. It is similar to  The Loch Ness Monster  in design, although the outcome is quite different. It looks best when made of brown paper, and if you have patterned paper this is a model that works good (with zebra patterned paper you could make a zebra). Step 1: Fold a  fish base Step 2: Mountain fold the bottom point around and up to the top Step 3: Valley fold the left point up... ...unfold... ...and inside reverse fold the flap up Step 4: Precrease and inside reverse fold the top point down Step 5: Valley fold the point back to form the head of the horse Step 6: To start forming the front legs, valley fold the triangular flaps over the right Step 7: Valley fold the flap back over partway Step 8: Precrease, then outside reverse fold the far left point down Step 9: Valley fold that tip back partway so the feet are flatter and the legs shorter Step

Origami Loch Ness Monster

Image
The Loch Ness Monster is a model that I'm very proud of. This is because it is a model that I designed myself. I was making an origami horse  when I realized that with some (okay, a lot) of altercations it could become a Loch Ness Monster. It is a pretty complex model, so I wouldn't recommend it for beginners. Step 1: Fold a  fish base  and have the two triangles pointing to the right Step 2: Mountain fold the bottom up and around to the top Step 3: Take the far left tip and inside-reverse fold it up. The point sticking in the air should be parallel with the center crease line (and about a centimeter or two away from it). Step 4: Open the flap up and valley fold the top right and left edges to the center Step 5: Close the flap to finish the neck Step 6: Inside reverse fold the top point down to become the head Step 7: Fold the tip back a little bit so the head isn't so pointy  Now it's time to shape t