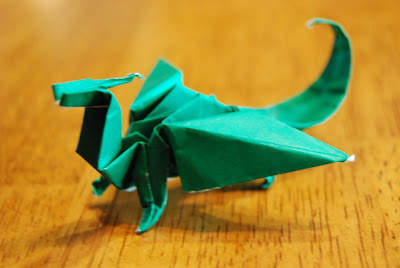
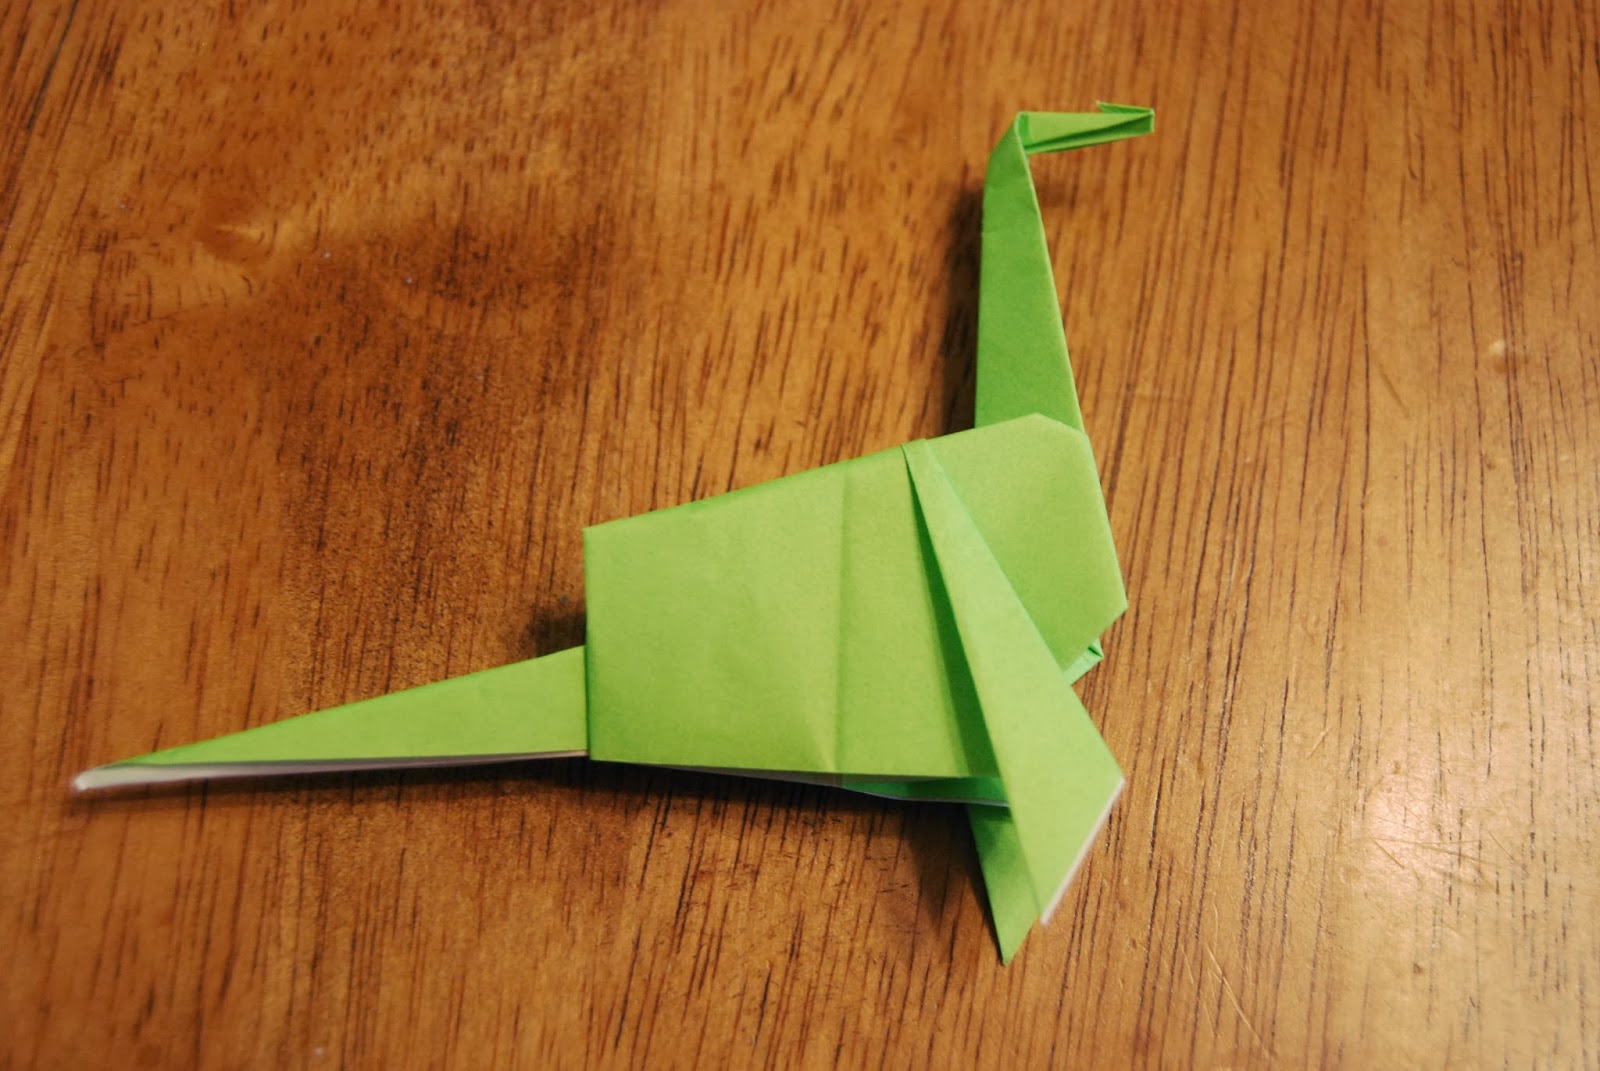
Origami Phoenix
The phoenix is one of my favorite origami models. It, like the dragon, is rather difficult, requiring valley, squash, petal, and reverse folds. If you cannot do all of these folds, refer to the fold index for help. The phoenix also has one neat feature; you can fold it from an A4 piece of paper (8.5in. by 11in.) without cutting it into a square. The only difference it makes is that you get a longer tail.
Step 1: Start with your sheet of paper color side down (if you are using A4 paper orient it vertically)
Step 2: Valley fold the left edge to the right, crease, and unfold
Step 3: Turn the paper over
Step 4: Valley fold the top left corner to the center so the edge lines up with the center crease
Step 5: Valley fold the top right corner just like in step 4
Step 6: Turn the model over and fold edge AB to the center, bringing out the colored corner behind the paper
It should look like this:
Step 7: Valley fold the top right edge to the center like in step 6
Step 8: Turn the model over and fold edge AB to the center crease
It will look like this:
Step 9: Valley fold the edge on the right to the center as well
Step 10: Now valley fold the edges in, but don't fold the entire edge (this step is not completely crucial, so it you don't understand, just improvise)
(only have the folds go about halfway up the square at the top)
Step 11: Turn the model over
Step 12: Valley fold the top point to the bottom of the square
Step 13: Take the far left point and squash fold it down
Step 14: Valley fold edges AB and BC to the center line (letters are shown in above pic)
Step 15: Unfold and petal fold the flap up
Step 16: Valley fold edges AB and BC to the center
Step 17: Turn the model over
Step 18: Valley fold in half
Step 19: Repeat steps 13-18 on the other flap so it looks like this on both sides:
Step 20: Valley fold point a up (it will become the head and neck so angle accordingly)
Step 21: Crease, and unfold
Step 22: Reverse fold the flap up to form the neck
Step 23: Precrease and reverse fold the tip down to form the head of the phoenix
Step 24: Valley fold the bottom point (the tail) so it points to the right
Step 25: Crease and unfold
Step 26: Inside reverse fold the tail up
Step 27: Valley and mountain fold the wings down
Step 28: Unfold them slightly
Step 29: Open the tail at the back a little
Your phoenix is now complete!


Comments
Post a Comment